Get Creative: Summer DIY Patio Lighting
Apr.14.2016
Summer is a time for outdoor activities, and you’re probably going to have more than a few patio excursions. To light up your backyard, you need to first settle on the shade, placement and price-range. Whether you’re working with passed-down lights or store-bought options, a few awesome patio lighting schemes exist for the DIY warrior.
Below, we scope out 2016’s hottest summer DIY patio lighting schemes. Don’t worry, they’re relatively easy to establish. Moreover, they’re really fun to work on.
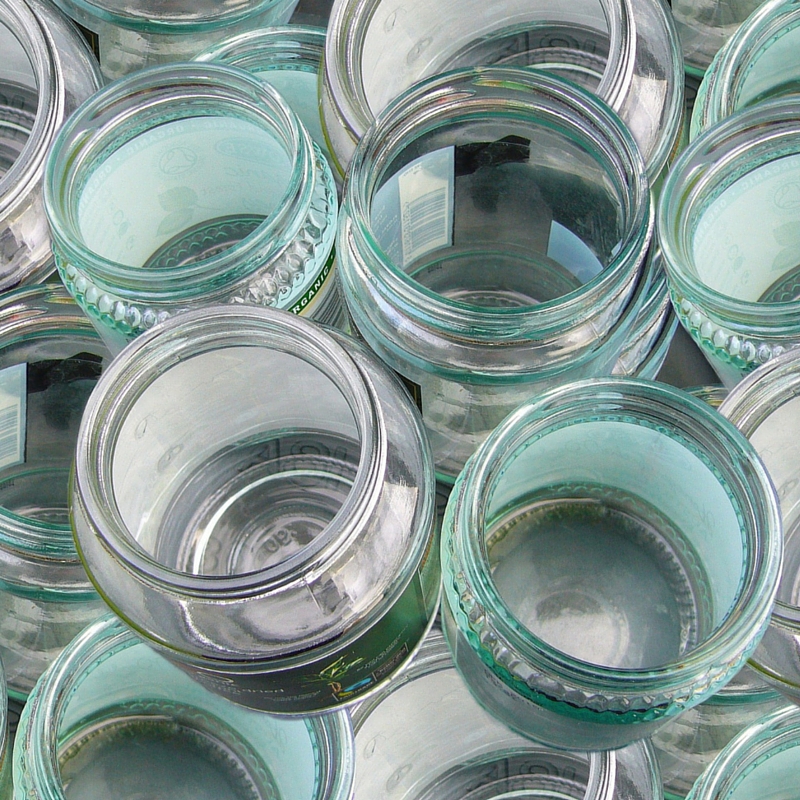
Patio Option One: Canned Jar Lights
Similar to age-old barn lighting, canned jar lighting packs high utility, flexibility and style. You can put your own spin on canned jar lights, so be liberal with your style! First, purchase five indoor-to-outdoor lighting cords. Ikea is a great location for this purchase. Then, purchase a case of Kern Mason jars for your lighting holster.
Drill a half-dollar sized hole into the jar’s metal cap, and paint the jar’s exterior with translucent paint. Once screwed onto the cord fixtures, your jars will light up the night.
Check out the design here.
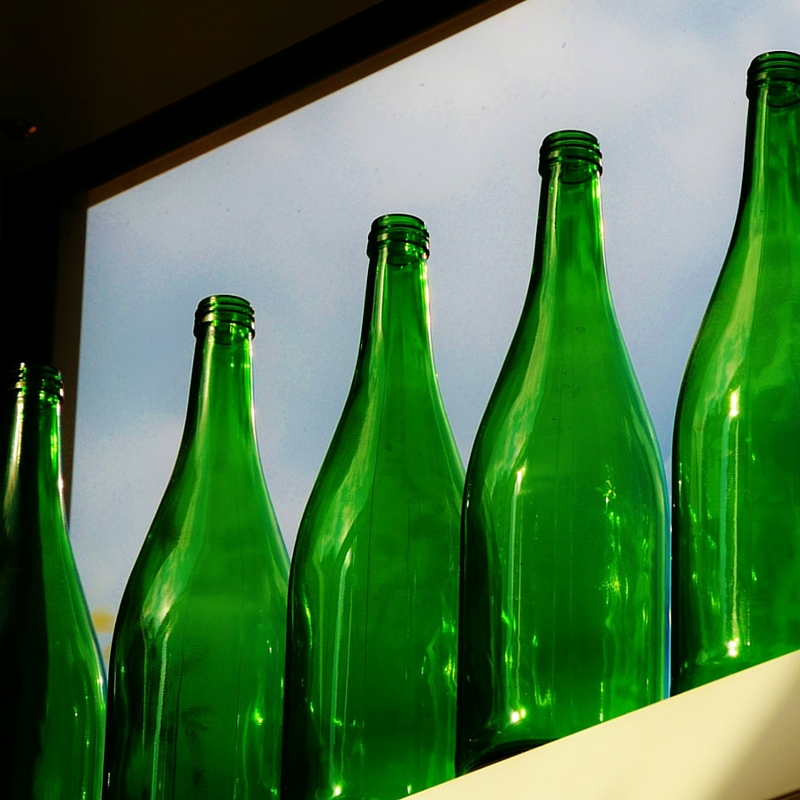
Patio Option Two: The Recycled Wine Bottle Torch
Wine bottles are incredibly useful as torch wick holders. Obtain a translucent wine bottle—preferably blue, so as to hide any wick stains. Gather some Teflon tape, a copper top plate connector, a copper cap, some zinc-plated screws and a Tiki replacement wick.
The bottle’s construction, while easy, still requires attention to detail. Wrap one-half of the coupling with Teflon tape. Then, build up the tape until the coupling fits snuggly into the wine bottle’s neck. When the wick is placed into the gasket, it’ll be ‘clipped’ by the coupling. You can use a funnel to channel torch fluid into the wine bottle. The wick will take care of itself.

Patio Option Three: Tin Can Lanterns
If you’re a weekend warrior or love to throw backyard parties, tin can lanterns are a great choice. Obtain a few recycled tin cans, and gather your hammer, nails, pliers, spray paint, bailing wire and several tea light candles.
Simply remove any glue and labeling from the tin cans. If the glue sticks, apply WD-40 to aid removal. Fill the cans with water, and place them in your freezer. When the ice is solid, remove them. Use a hammer and nail to pound holes into the cans. The ice should keep each can’s shape solid. Get creative, and make a design! When the design is finished, attach wiring to two top holes to create a handle. Put in you tea light candles and watch your creation glow.
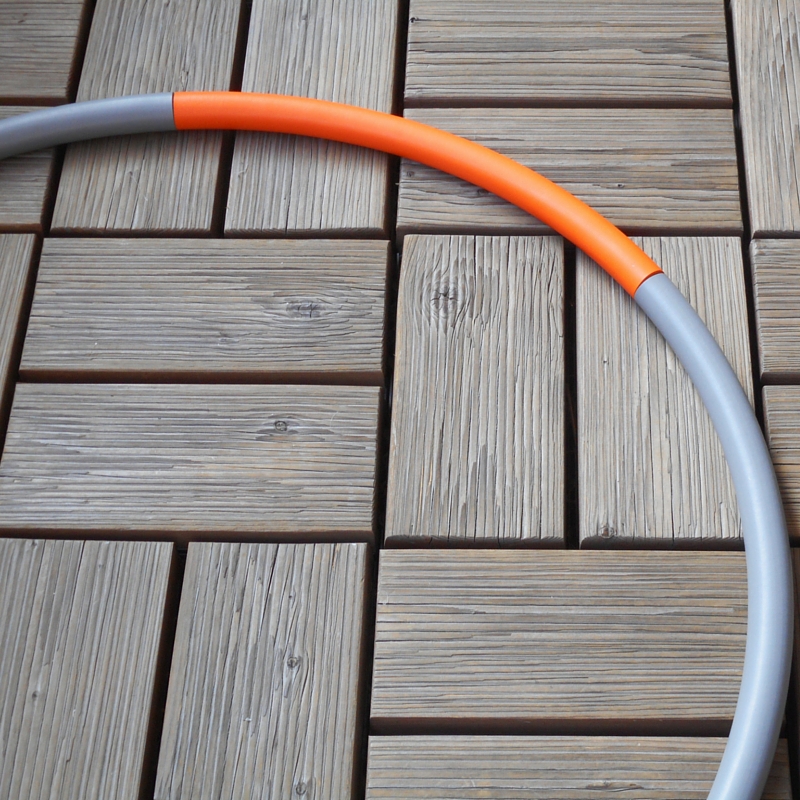
Patio Option Four: The Hula Hoop Chandelier
Your summer DIY patio lighting deserves a centerpiece. By wrapping lights around a hula hoop, you can cover your entire patio area with wonderful, dulcet lighting. Purchase a hula hoop from the dollar store. Then, obtain some romantic lace to bind the lights.
As for the lights, themselves, Christmas lights are a solid option. Icicle-shaped white lights will provide great texture, and you can purchase them for a low price. Simply wrap your Christmas lights around the hula hoop, and cover up any loose edges with lace. Ideally, the icicle lights should dangle a little. If a few wires show, it’s alright. The lace should buffer out any awkward angles.
As your DIY patio lighting scheme develops, you might become interested in new, exciting decorative opportunities. Each DIY patio lighting creation above is incredibly adaptive. They go well in almost any backyard environment, so you’ll never be left without stylized options. Check out your local hardware store for each creation’s components. Discount stores and craft stores are your friend, too.